Caring for bathroom floors and tiles is an integral part of home maintenance. From wiping-washing wall tiles with white vinegar and a non-abrasive sponge to dealing with limescale and mould stains, a lot of effort goes into creating a squeaky-clean bath area.
However, despite deep and regular cleaning, sometimes you just can’t achieve that ‘neat’ bathroom look you are after. In cases like this, the primary culprit is mostly the silicone sealant that has lost its lustre and function. It’s not doing its job of repelling water and preventing leaks, thus creating a mess of water leakage and mouldy patches.
In this post, our tile regrouting experts have jotted down clear instructions to help you get rid of old silicone and replace it with a fresh one. Follow these tips to renew your old, dirty-looking sealant without messing up:
Signs That Your Silicone Needs Replacement
Old silicone doesn’t and cannot last forever. Here are some telltale signs suggesting you need grout repair asap:
- Discolouration: Often caused by mould and mildew. If your one-white silicone now features a blackish or yellowish colour, it’s high time to choose silicone tile repair.
- Seal Gaps: Peeling edges or visible gaps also signal that you need regrouting or silicone replacement services.
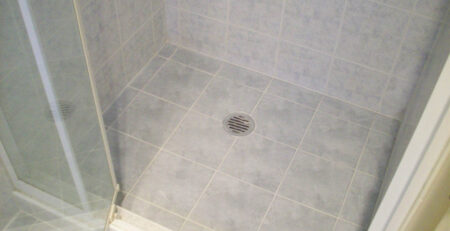
- Dampness Around Tiles: If you can see pools of water around bathroom fixtures like shower, bathtub or sink, it’s a sign that your water-resistant silicone sealant is compromised and causing water damage.
At Tile Regrouting, we know that ignoring these signs could mean expensive structural repairs. To avoid the chaos and financial strain, follow these simple steps to remove and replace your old silicone sealant.
Step-by-Step Process to Freshen Up Old Silicone
#1. Gather Your Tools: Nothing too fancy – just grab your utility knife, silicone scraper, rubbing alcohol, a microfibre cloth and safety gloves. You’ll also need a cartridge gun/caulking gun and a smoother tool.
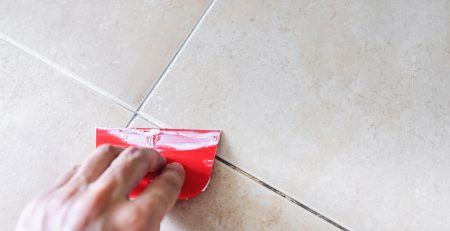
#2. Prepare the Area: Before removing the silicone, you must spend some time cleaning the accumulated soap scum, dirt or mould. Use warm water and a gentle detergent. Let the surface dry completely before moving to the next step.
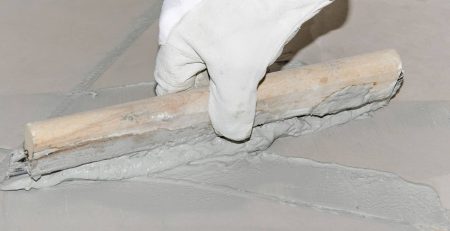
#3. Removing Silicone: Here’s where the actual work begins. Using your knife or a scraping tool, carefully cut the edges of old silicone – make sure you aren’t scratching the tiled surfaces. Once done, apply rubbing alcohol to soften the residue and wipe it away using a cloth.
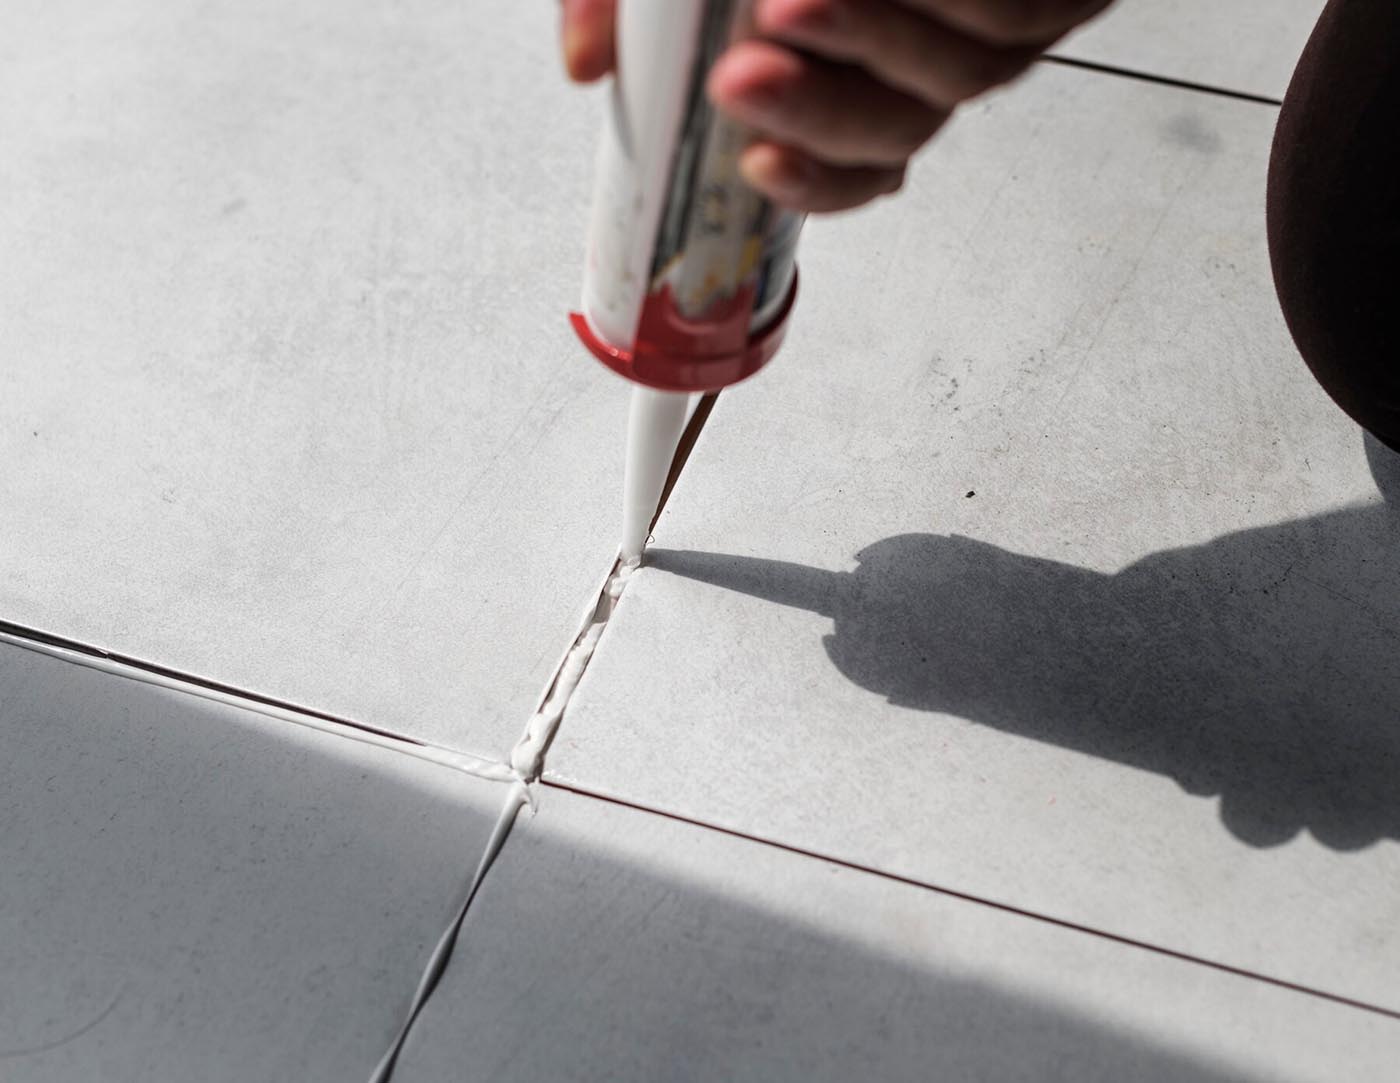
#4: Apply New Silicone: Using a cartridge gun, start applying the fresh silicone in a steady and continuous motion. Once a band is complete, use the smoother tool to even out the imperfections and achieve a professional finish.
#5. Drying and Maintenance: Once done, let the silicone cure for a minimum of 24 hours before exposing it to water. To prolong its life, make a habit of cleaning the sealed areas regularly and check for early signs of silicone damage.
Trust Our Tile Regrouting Experts to Get the Job Done Right
You see, the process of removing and replacing silicone is not so complicated. It simply requires patience, time and access to the right tools and techniques to achieve the desired result.
If DIY-ing is your thing, you can follow the aforesaid tips and refresh the look and feel of your bathroom. However, if this sounds like a taxing job, let our professionals handle it for you. At Tile Regrouting, we specialise in grout repairs, fixing leaking showers, shower screen installations and more! Simply give us a call and let our experts assist you with silicone tile repairs.
To learn more, contact us today and request a free quote!